Cloning code structures is one of the most practical skills a developer can build early in their career. Whether you're spinning up a new microservice, prototyping a client project, or standardizing your team's workflow, the ability to replicate a proven codebase saves hours of repetitive setup.
Reusable project templates eliminate the guesswork that comes with starting from scratch, and they reduce the chance of configuration errors that plague fresh builds. Software prototyping moves faster when you work from a known foundation rather than assembling boilerplate by hand. This guide walks you through the complete process of cloning code structures, from choosing your source to customizing the output.
By the end, you'll have a repeatable system for code reuse that fits any stack or team size. If you've ever wondered how experienced developers ship projects so quickly, this is the playbook they follow.
Key Takeaways
- Cloning code structures accelerates prototyping by removing repetitive boilerplate setup from every new project.
- Always audit your source template for hardcoded secrets before replicating it across repositories.
- Use parameterized templates instead of raw copies to keep your reusable codebase maintainable long-term.
- Version control your templates so every team member works from the same proven foundation.
- Automate post-clone customization scripts to reduce human error during project initialization.
Step 1: Choose and Prepare Your Source Template
Identifying a Strong Candidate
The foundation of effective code reuse starts with picking the right source project. Look at your past work and identify a project that shipped successfully, had clean architecture, and required minimal debugging during its lifecycle. A good template candidate has a clear folder structure, sensible dependency management, and well-separated concerns between configuration and business logic. If you're new to code cloning and how it works in practice, start with something small like a REST API boilerplate or a static site scaffold.
Not every project makes a good template. Avoid selecting projects with heavy business-specific logic baked into the core files, because stripping that out later creates more work than starting fresh. Instead, favor projects where the infrastructure (build pipeline, testing setup, linting configuration) is solid and the application logic is minimal. The goal is a skeleton, not a finished product. Think of it like choosing a house blueprint rather than trying to retrofit someone else's furniture into your living room.
Pick a template from a project that had fewer than three post-launch configuration bugs for highest reliability.
Cleaning the Template
Once you've selected your source, strip it down. Remove all environment-specific values, API keys, database connection strings, and any personally identifiable data. Replace these with clearly labeled placeholders like {{PROJECT_NAME}} or {{DATABASE_URL}}. This step is non-negotiable. Skipping it means you risk leaking credentials every time someone clones your template, and that's a security incident waiting to happen.
Hardcoded secrets in templates are the number one cause of accidental credential exposure in cloned repositories.
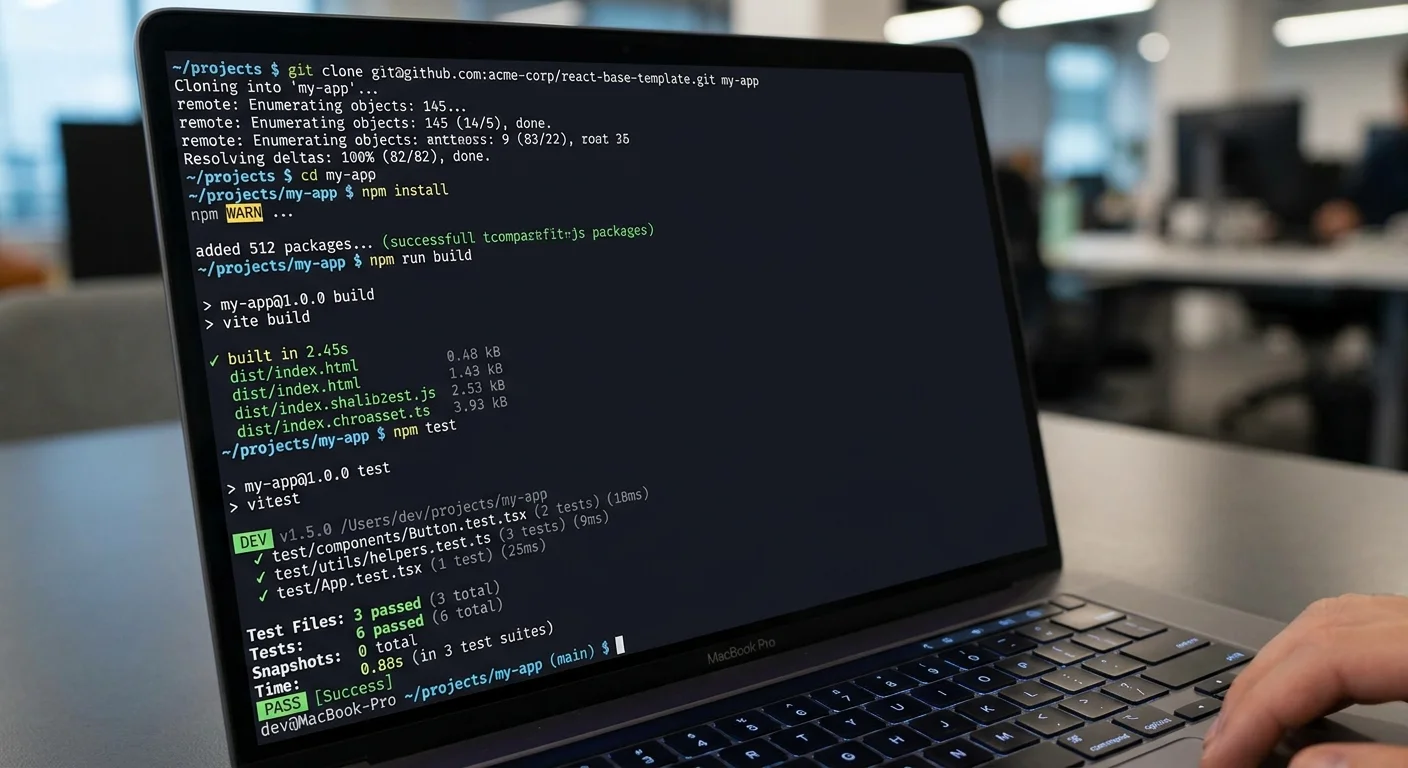
After sanitizing, verify that the cleaned template still builds and passes its test suite. Run npm install, pip install, or whatever dependency resolution your stack requires. If the build breaks, fix it now. A template that doesn't compile on first use will be abandoned by your team within a week. At the end of this step, you should have a clean, buildable project skeleton stored in its own repository with zero sensitive data.
Step 2: Clone the Code Structure into a New Project
Using Git Template Repositories
GitHub's template repository feature is the most straightforward way to clone code structures for new projects. Navigate to your template repo's settings and check "Template repository." From that point, anyone on your team can click "Use this template" to generate a fresh repository with the same file structure but a clean commit history. This matters because it avoids inheriting the original project's git log, which would clutter your new project with irrelevant history.
Read also How to Conduct a GDPR Compliance Audit Step by Step
GitLab offers a similar feature through its project templates system, and Bitbucket supports it via project-level configurations. Whichever platform you use, the workflow is nearly identical: select the template, name the new repository, and clone it locally. The new repo starts with its own history, which keeps things clean for your team's pull request workflow and makes onboarding straightforward for new contributors.
Template repositories on GitHub do not carry over branch protection rules or webhook configurations from the source.
Alternative Cloning Methods
If you're working outside of hosted Git platforms, tools like degit by Rich Harris pull a repository's contents without any git history at all. Run npx degit user/repo my-new-project and you get a clean directory. Yeoman generators and Cookiecutter (for Python ecosystems) offer more sophisticated scaffolding that prompts you for values during the clone process. For teams using AI-assisted development workflows, MCP servers designed for coding can help automate template discovery and initialization steps.
At the end of this step, you should have a new local project directory containing your template's full file structure. Verify by listing the directory contents and confirming all expected folders (src, tests, config, docs) are present. Open the project in your editor and confirm that placeholder values appear where you expect them. Do not proceed until the file structure matches your template exactly.
Step 3: Customize and Parameterize the Cloned Codebase
Replacing Placeholder Values
With the cloned structure in place, the next task is replacing every placeholder with real values for your new project. Start with the project name, because it typically propagates through package.json, README files, Docker configurations, and CI pipeline definitions. Use your editor's global find-and-replace to catch every instance of {{PROJECT_NAME}}. Then move through database URLs, port numbers, and service identifiers one by one. Keeping a checklist of all placeholders prevents the frustrating experience of discovering a missed value during deployment.
Configuration files deserve special attention. Your .env.example should list every environment variable the project needs, with descriptive comments explaining acceptable values. Copy it to .env for local development and populate it with your actual credentials. This pattern, shipping an example file and gitignoring the real one, is standard practice for a reason: it documents requirements without exposing secrets. Teams that skip this step inevitably end up with inconsistent environments across developers.
Create a setup script that reads a JSON config file and automatically replaces all placeholders across the entire project tree.
Automating the Customization Step
Manual find-and-replace works for solo developers, but it doesn't scale. Write a post-clone initialization script (a simple shell script or Node.js script) that prompts for values and performs substitutions automatically. Cookiecutter does this natively through its cookiecutter.json file, which defines variables and default values. For custom solutions, tools like sed on Linux or PowerShell's -replace operator handle bulk text substitution across files efficiently.
At the end of this step, your project should build successfully with real values in place. Run the full test suite, start the development server, and verify that the application renders or responds correctly. If you see any remaining placeholder tokens in your logs or UI, go back and fix them. A fully customized clone should be indistinguishable from a hand-built project to anyone who opens it for the first time.
"A well-maintained template library is worth more to a development team than any single framework choice."
| Category | Placeholder | Example Value | Files Affected |
|---|---|---|---|
| Project Identity | {{PROJECT_NAME}} | invoice-api | package.json, README, Dockerfile |
| Database | {{DATABASE_URL}} | postgres://localhost:5432/invoices | .env, docker-compose.yml |
| Port Config | {{APP_PORT}} | 3000 | .env, Dockerfile, nginx.conf |
| Auth | {{JWT_SECRET}} | (generated 256-bit key) | .env |
| CI/CD | {{REGISTRY_URL}} | ghcr.io/org/invoice-api | .github/workflows/*.yml |
| Monitoring | {{SENTRY_DSN}} | https://key@sentry.io/123 | .env, sentry.config.js |
Step 4: Validate, Version, and Maintain Your Reusable Templates
Running Validation Checks
Before declaring your cloned project ready for development, run a validation checklist. First, execute linting across all source files to catch syntax issues introduced during placeholder replacement. Second, run the full test suite and confirm a passing status. Third, build the production artifact (Docker image, compiled binary, bundled frontend) and verify it completes without errors. These three checks together take five minutes and save hours of debugging downstream.
Security scanning should be part of your validation pipeline too. Run a dependency audit (npm audit, pip-audit, or bundler-audit) on the freshly cloned project. Templates age, and the dependencies they pin may develop vulnerabilities between when you created the template and when someone clones it. Catching these early prevents the uncomfortable conversation about shipping known vulnerabilities to production on day one of a new project.
Long-Term Template Maintenance
Templates are living documents, not set-and-forget artifacts. Schedule a quarterly review to update dependencies, refresh CI configurations, and incorporate lessons learned from recent projects. When a team member discovers a better testing pattern or a more efficient Docker multi-stage build, fold it back into the template. This feedback loop keeps your reusable codebase relevant and prevents the slow drift toward obsolescence that kills most internal tools.
Version your templates using semantic versioning or at least date-based tags. When someone reports an issue with a project cloned from your template, knowing which version they used dramatically speeds up troubleshooting. Store a changelog in the template repository that documents what changed between versions. Teams that treat their project templates with the same rigor as their production code consistently ship faster and with fewer configuration-related incidents over time.
Add a TEMPLATE_VERSION file to every template so cloned projects carry a record of which template version they originated from.
Frequently Asked Questions
?How do I automate placeholder replacement after cloning a template?
?Is a Git template repository better than just copying a folder manually?
?How long does setting up a reusable code template actually take?
?What's the biggest mistake developers make when cloning code structures?
Final Thoughts
Cloning code structures is not about cutting corners; it's about working smarter with patterns that have already proven themselves. By selecting strong source projects, cleaning them into proper templates, automating the customization process, and maintaining your template library over time, you build a system that compounds in value.
Every new project becomes faster to launch and more consistent in quality. Start with one template this week, refine it after your next project, and you'll wonder how you ever built software any other way.
Disclaimer: Portions of this content may have been generated using AI tools to enhance clarity and brevity. While reviewed by a human, independent verification is encouraged.